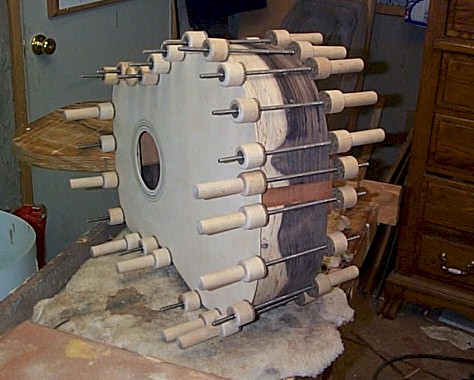
17. Gluing the top, using just a few clamps!
(click on thumbnail for full-sized photograph)
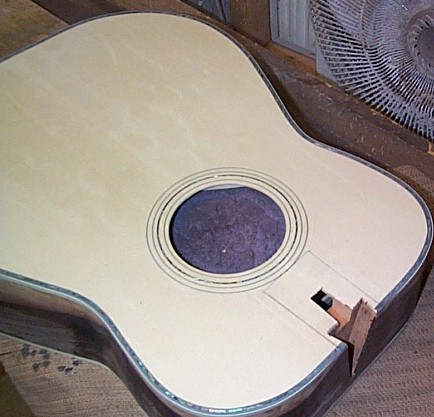
The Build - Assembling the body & getting the inlay in place.
Once all the body pieces had been fine-tuned. Vince glued the body together.
17. Gluing
the top, using just a few clamps!
(click on thumbnail for full-sized photograph)
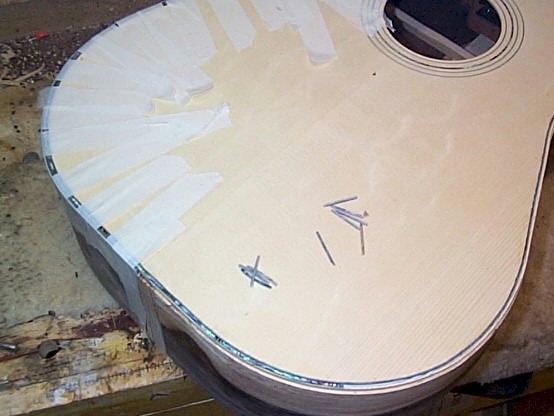
18.
Ledges routed for inlay work is
begun once the glue has set.
(click on thumbnail for full-sized photograph)
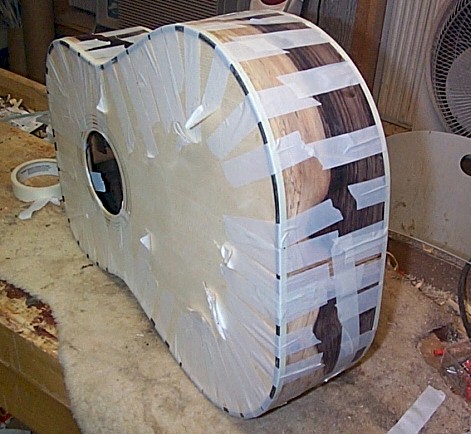
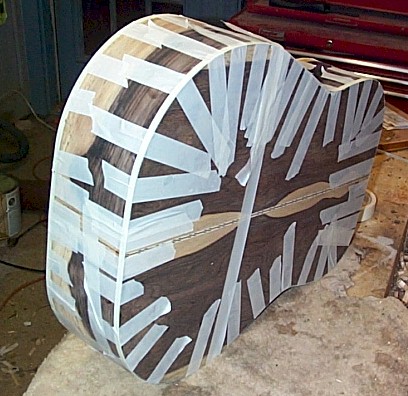
19 & 20.
After inlay and binding is
applied, they are taped down to allow the glue to dry.
(click on thumbnail for full-sized photograph)
![]()
21.
Vince has finished 98 % of the abalone
inlay work. The guitar will have a faux vintage finish. He still has some
inlay work to do around area where the fretboard will extend over top, then the
stain can be applied on top.
(click on thumbnail for full-sized photograph)
22. Marking out the placement of the abalone
inlay around the neck.
(click on thumbnail for full-sized photograph)
![]()
23. Vince runs a test strip for the vintage
stain.
(click on thumbnail for full-sized photograph)